Control over the temperature during bulk fermentation and proofing is absolutely indispensable for obtaining consistent baking results. Also, pre-ferments made with complex methods such as the 3-stage Detmold method cannot be made without proper control over the temperature.
Recently I started making 80% whole grain rye bread using the 3-stage Detmold method and figured it was time for me invest in a proofing cabinet. With these kind of technical things I have a tendency to search the web for it, decide it’s not good enough or too expensive and start with a super-ambitious project to build something myself. Then, after having bought all the components and spent a couple of evenings on it I realize I was a bit too ambitious because I made it extremely difficult for myself and consequently the project takes years to finish. Highly frustrating. This time I did it differently: I borrowed a Brod & Taylor proofing box from a friend and actually learned a couple of things before spending any money:
- Air really has a very limited heat capacity. If air is the sole heat capacitor, the proofing box should be tightly sealed and very large. The Brod & Taylor box is tiny and is leaky as a basket. The results was that it took ages for the dough to reach the right temperature if it didn’t had proper temperature before entering the proofing box.
- I cannot exactly control the temperature of the dough before it enters the proofing box. My bench is sometimes warm, sometimes cold and different doughs have different kneading times that also affect the temperature. There’s just too many factors.
- When the room temperature dropped below 15 degrees C, the Brod & Taylor wasn’t able to maintain the target temperature of the dough – it dropped 2 to 3 degrees C. Clearly too much heat was dissipated to the room and I need a proofing box with better insulation and/or a more powerful heating element for those cold days.
- The Brod & Taylor was too small for my needs (about ~ 5KG of dough)
Given the price tag of € 200 for the Brod & Taylor and it’s flaws I figured it’s not for me. Again, I decided to build one myself and promised myself to keep it as simple as possible by not including any functionality that is absolutely essential. Surprisingly I managed to have it finished in a couple of evenings, hence this article. Given the things I learned from the Brod & Taylor box, I came up with a list of wishes and solutions for that
- Easy to transport: a small controller that can turn any box into a proofing cabinet
- A large heat capacity: get a of weight into the box
- A medium that readily transfers heat to the dough when accurate temperature it’s most crucial (i.e. during the pre-ferment stage): use water instead of air and a aquarium pump.
- Accuracy: a reliable and accurate thermometer and subsequent control over the heater.
- Simple and customizable controller: an Arduino
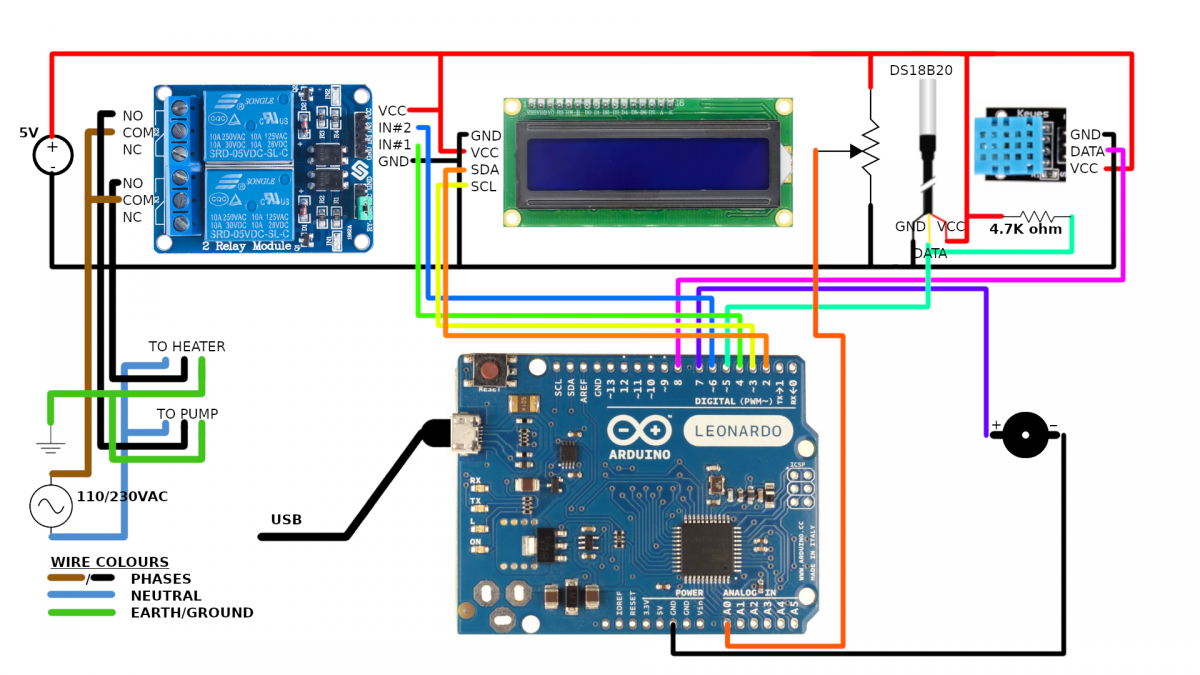
So, given the subsequent list, I decided to go for the following parts:
- Arduino Leonardo (Uno is also fine) € 20
- Aquarium Pump (I used a CompactON 300) € 15
- 2 channel 5V relay module € 3
- DS18B20 waterproof thermometer € 5
- DHT11 thermometer € 2
- 4.7kOhm or 10kOhm resistor € 0,01
- 16×2 LCD with I2C € 6
- 300W Immersion heater (AC, not a 12V DC model) € 10
- Buzzer € 0,30
- Wires, sockets, wood etc. € 20
Total costs: € 81,31
So, here’s the scheme:

The source code I put on Github and can be found here: https://github.com/ElmerS/proofingbox
The source code is commented to make it more understandable. A couple of additional comments:
First of all, there’s a number of variables you need to set. There are pretty much at the top of the code and heavily commented. Make sure to set the correctly. I also have included a number of safety checks, which are executed every two minutes. First it checks that if the heater is on, the temperature has gone up in because if not there’s likely something wrong (the heater of thermometer isn’t working, E1 error). Then it checks whether the heater hasn’t exceeded the maximum time it’s allowed to be on (E2 error). This time is calculated by the number of seconds it takes to warm up the water to MaxTemp and includes the water volume and the power of the heater. Subsequently it checks whether the controller hasn’t exceeded MaxRunTime (24hr by default, E4 error). Then it checks whether the water temperature isn’t above the threshold of MaxTemp (in case you have filled the box with warm water that is too hot,E3 error)) and finally it uses the DHT11 thermometer to check whether the internal temperature (that is inside the controller-box) does not exceed a givin limit (40 degrees C by default, E5 error).
If you want to use an Arduino Uno instead of a Leonardo, you need to connect to SDA (data line) and SCL (clock line) wires to pins A4 and A5 respectively because, well, these wires are just on a different location. See https://www.arduino.cc/en/reference/wire. I haven’t tested it on an Uno because I just happened to have a spare Leonardo instead of an Uno
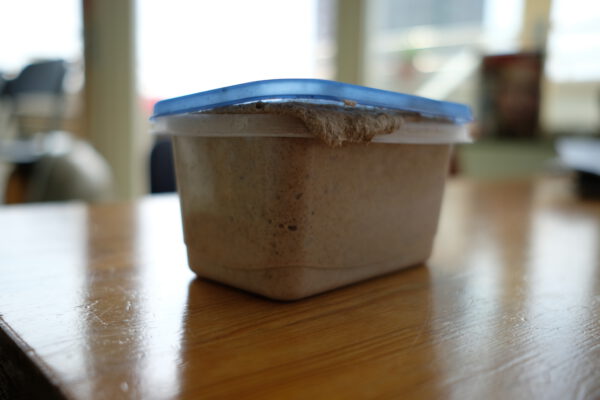
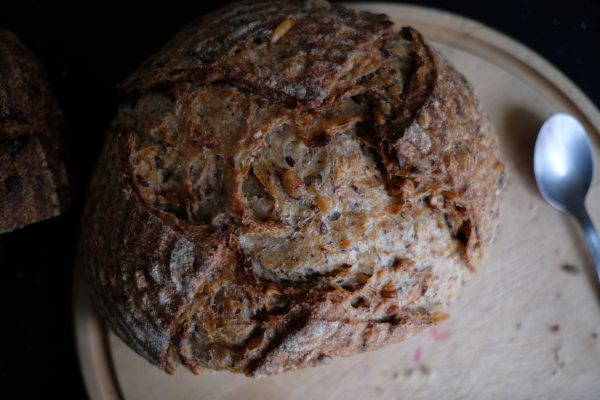
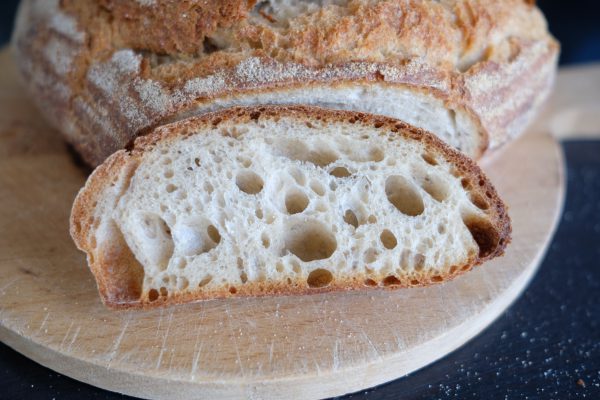
And last but not least, a couple of pictures of the proofing box:


2 Comments
Nice work!
Maybe I should start a webpage like yours too…
Greets!
Hi Paul,
So nice you found this page 🙂 It’s rather quiet here (writing on daily basis isn’t my cup of tea so, perhaps we could join forces and transform this website into a combined for the two of us?
Cheers, Elmer